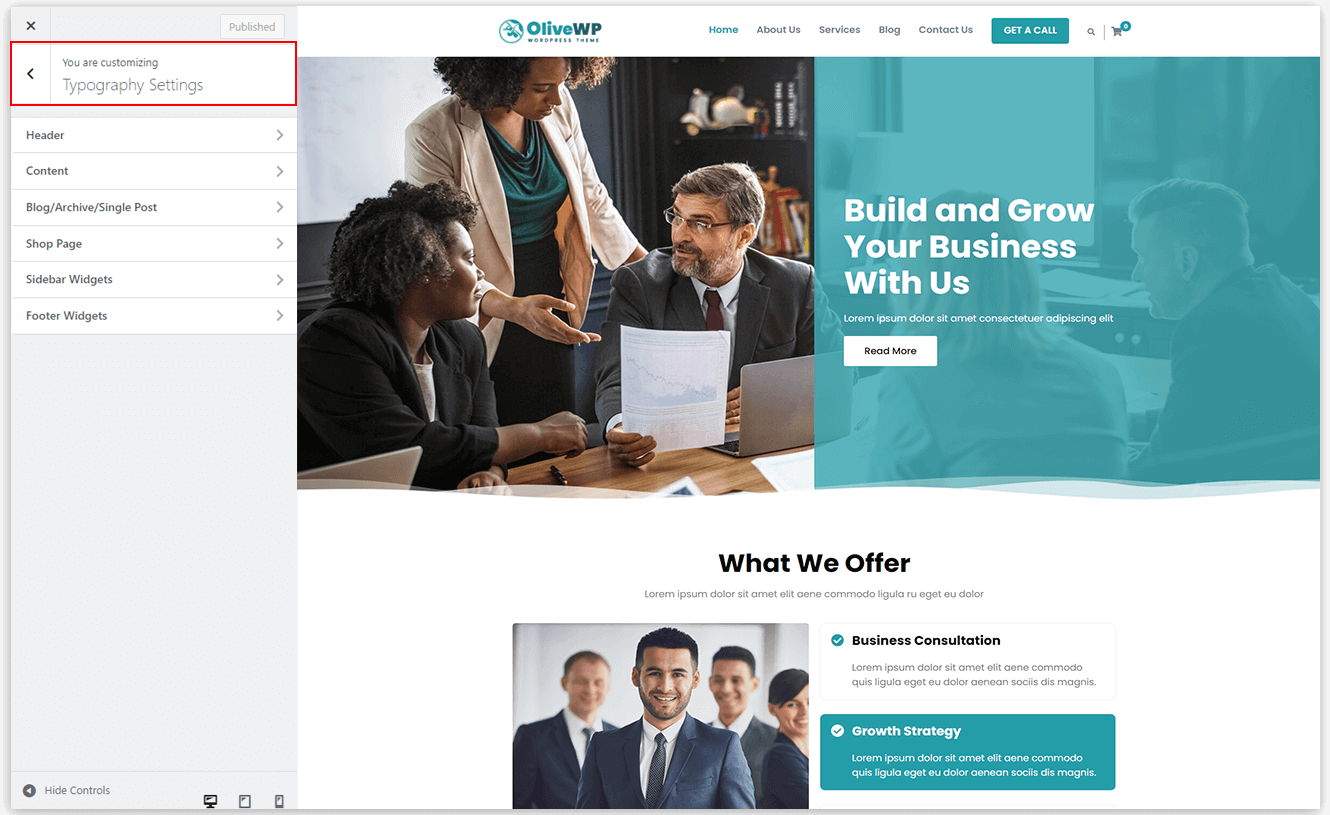
OliveWP provides the typography feature that gives you complete control to manage the typography from header to footer on your site. In typography, you can change the following options.
Location: Appearance >> Customize >> Typography Settings
- Font family: Select the font family of the text.
- Font size: Select the font size of the text in px format.
- Line height: Select the vertical space between lines of the text.
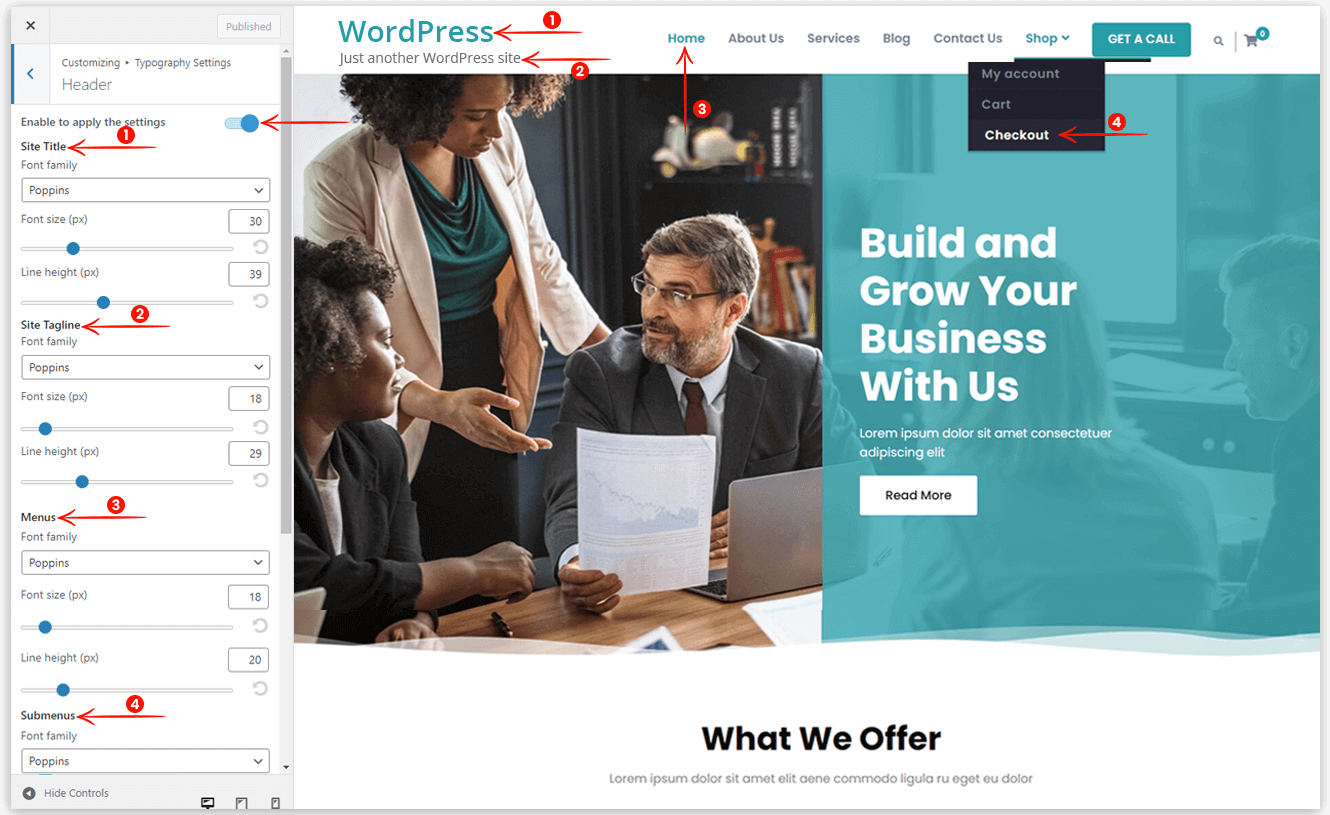
1. Header
This option helps you to set the typography for the Site title and tagline. If you want to apply typography on the site title and tagline then you need to enable the display option in the customizer. Go to Appearance >> Customize >> Site Identity and enable the option “Display Site Title and Tagline“.
This option also contains the settings for menus and submenus.
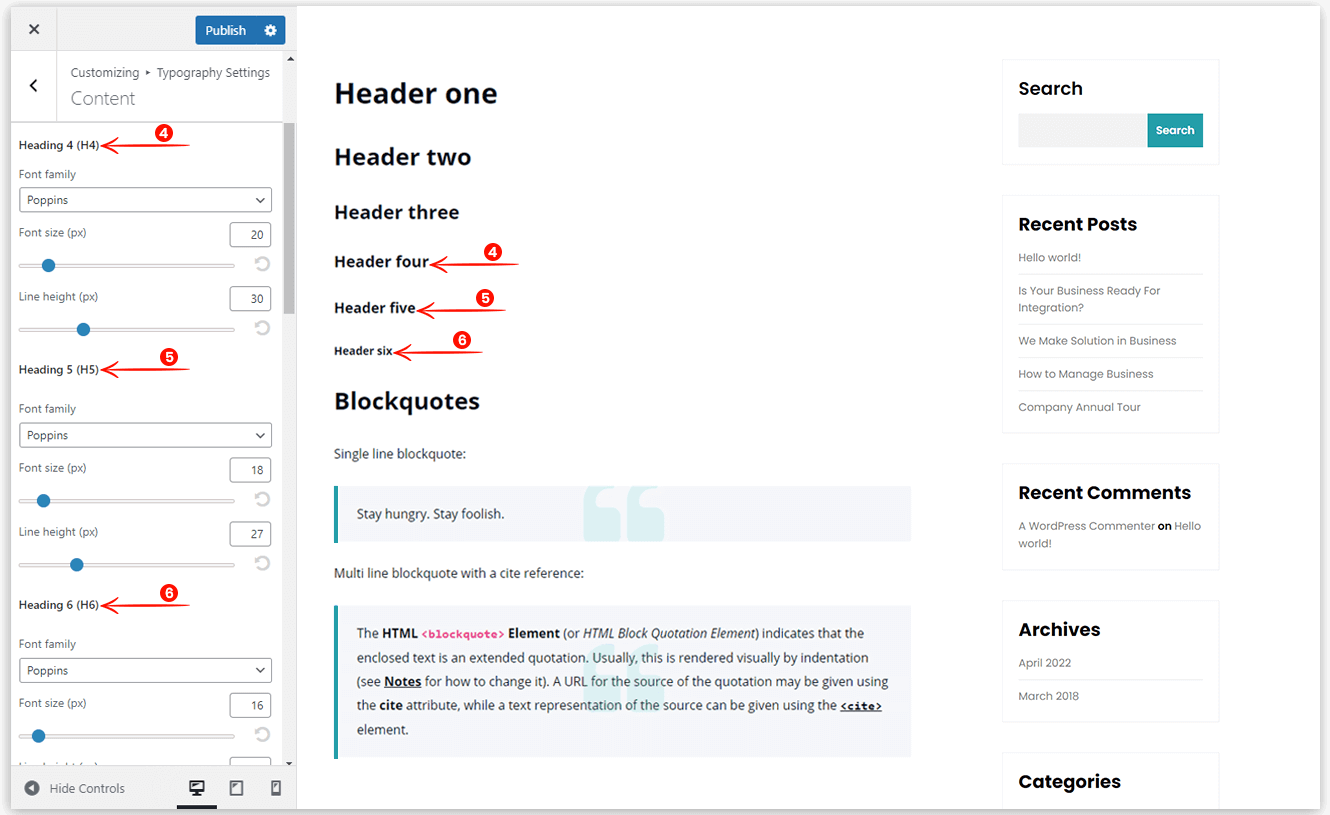
2. Content
This option helps you to set the typography for the headings H1 to H6, paragraph, and button text. You can set the typography for the custom content coming from the page or post editor from here.


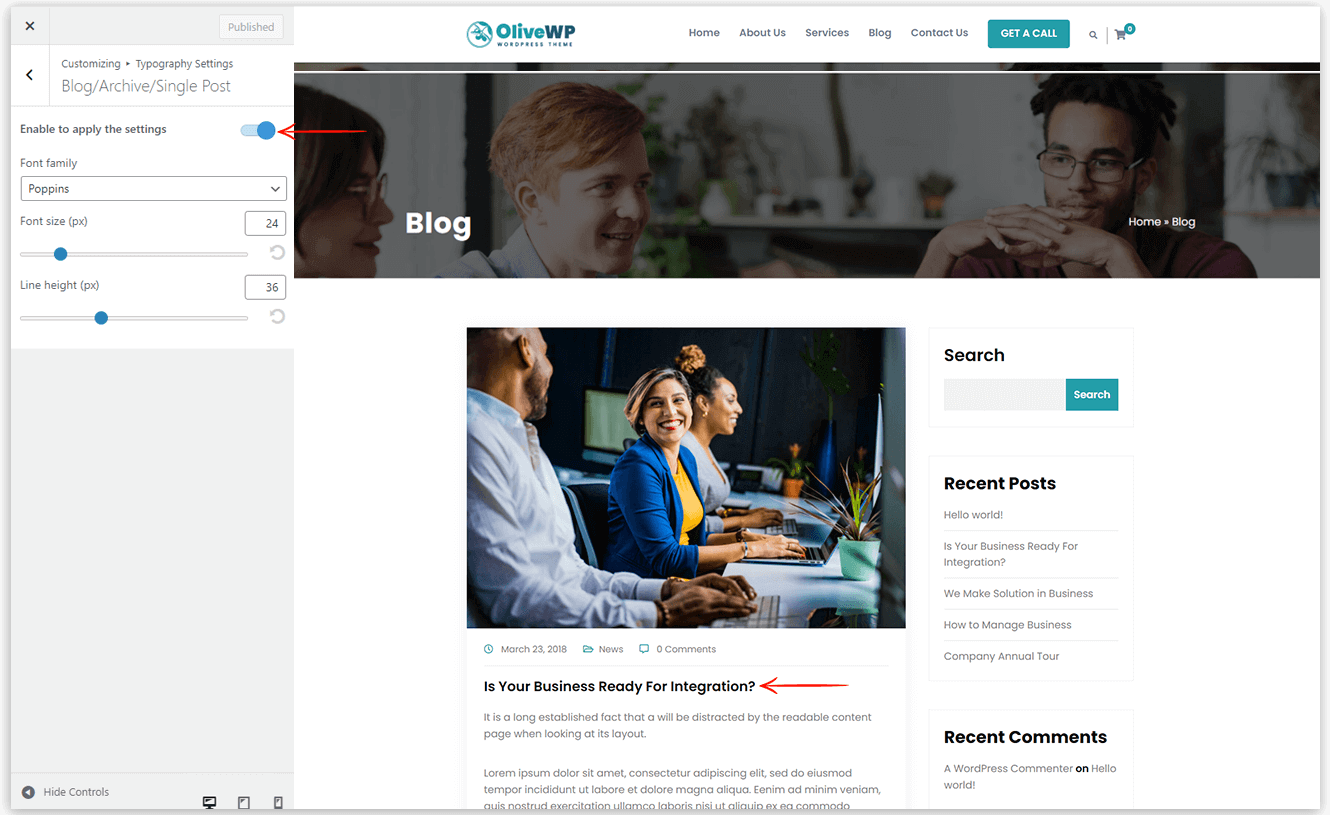
3. Blog/Archive/Single Post
This option helps you to set the typography for the post title display on the blog page, archives, and single post.
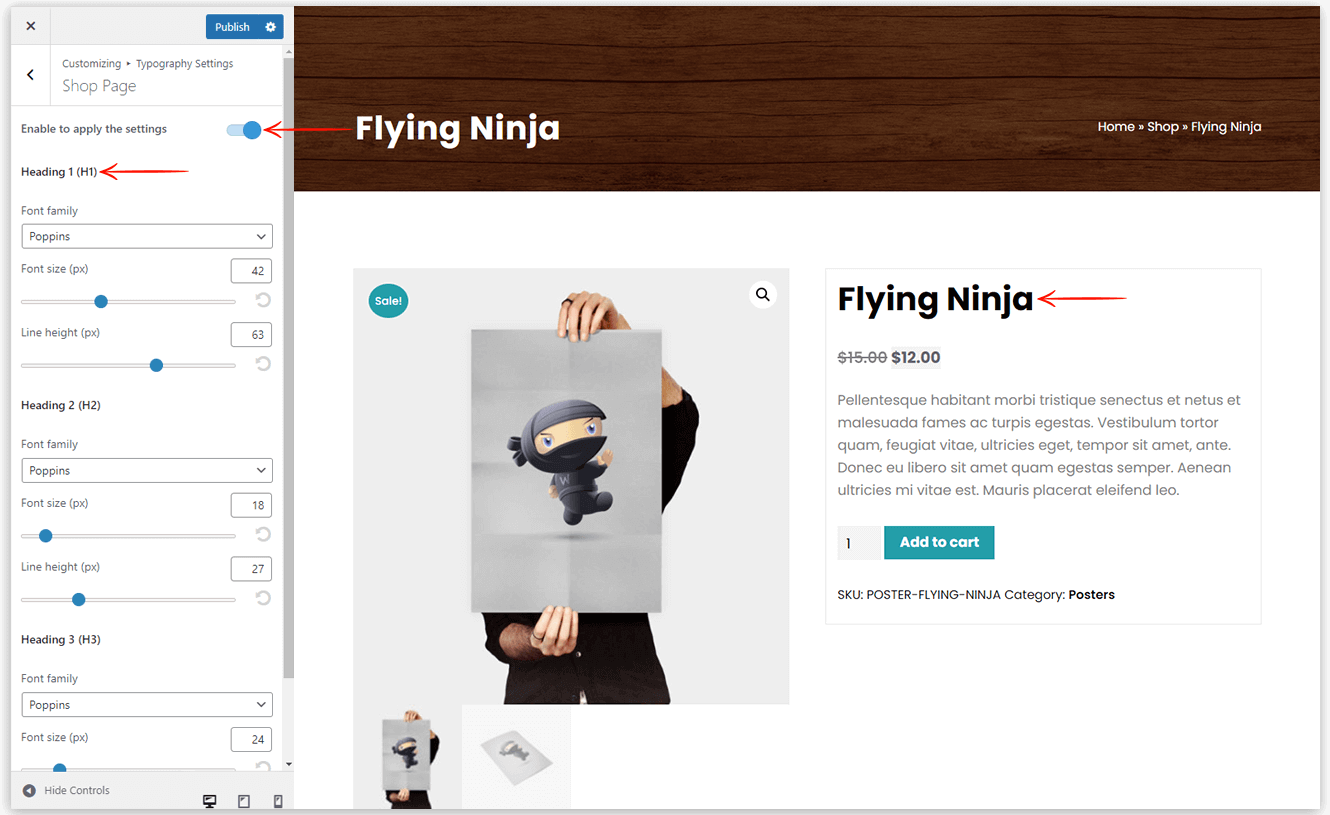
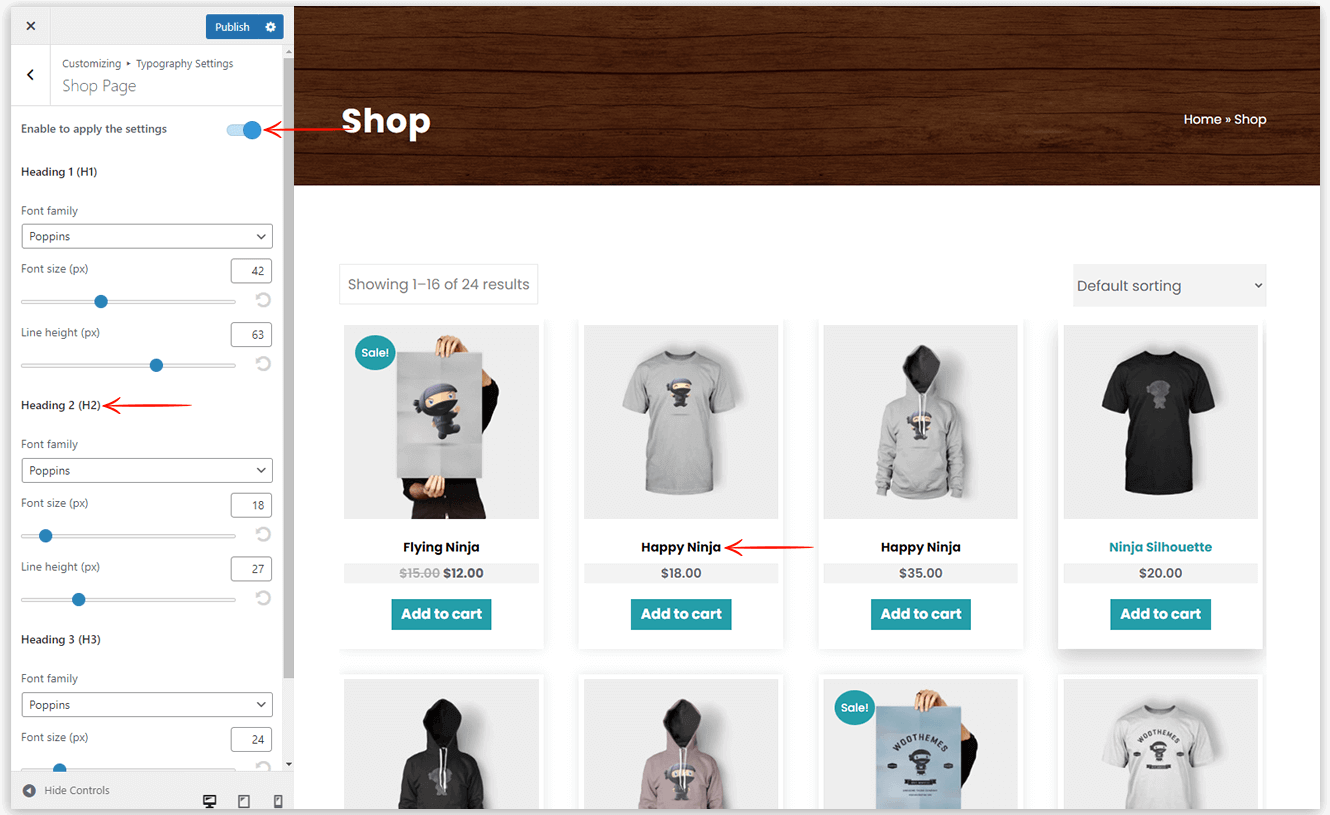
4. Shop Page
This option helps you to set the typography for the shop page contents like the product title on the shop page and product detail page. Also, you can change the typography of checkout and cart page headings from here.

5. Sidebar Widgets
This option helps you to set the typography for the sidebar widget title and widget content.

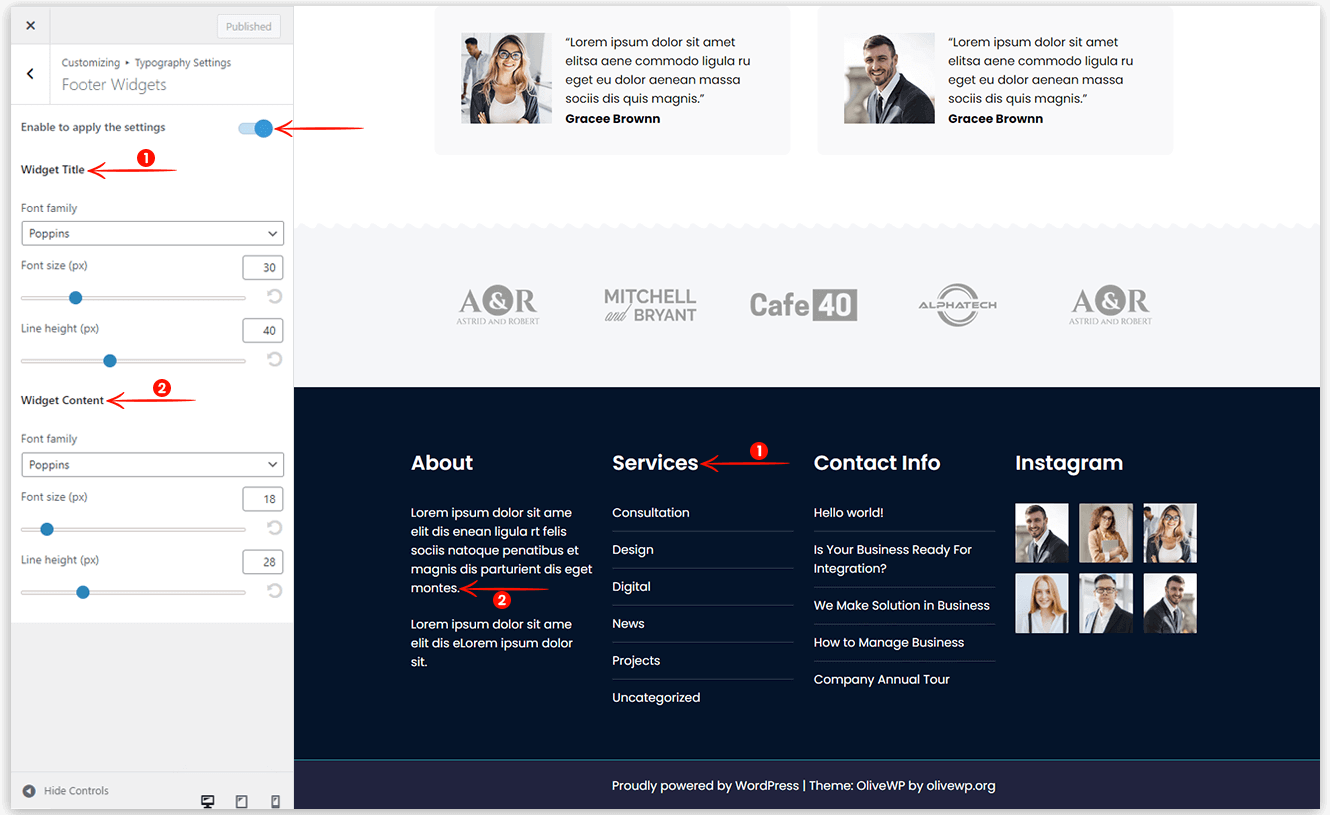
6. Footer Widgets
This option helps you to set the typography for the footer widget title and widget content.
For additional features: Change the Typography of the site (Pro)